03. Optional: Virtual Machine
Optional: Virtual Machine
Alternatively, you may prefer to work on a local Linux host, instead of the Udacity Workspace in the cloud. In that case, we provide a virtual machine (VM) that includes everything you need.

Setting up the VM
Download the image
The provided VM image is around (4+GB)! So, find yourself a good internet connection and download the compressed VM disk image .
Validate the image
If you need to validate the download of the image, here is the MD5 checksum:
MD5(Ubuntu 64-bit Robo V2.1.0.ova)= 95bfba89fbdac5f2c0a2be2ae186ddbb
It may also be a good idea to keep a backup of this VM image to avoid downloading again if you need it. But just in case you do not do that there is a backup snapshot built into the VM that will allow you to restore it to its original state at any time!
Extract the Image
To extract the compressed image in Windows:
- Download the appropriate version of 7-zip from here
- Right-click and select "7-zip" > "Extract Here"
To extract at the command line in macOS or Linux:
- Open the terminal and navigate to directory containing the compressed image
-
execute
$ unzip robond_vm.zip
Downloading a VM Player
Inside the zipped archive, in addition to the VM disk image, there are two other small configuration files that you may need.
We recommend using VMWare to run the VM. VMWare provides the Workstation Player free for Windows and Linux operating systems.
The VMWare Fusion Player for Mac only comes with a brief free trial period. To use the free Workstation player for Windows on a Mac, you can use BootCamp (a built in Mac tool) to create a Windows partition on your Mac and download the player for WIndows. Alternatively, you can check out a free trial of VMWare Fusion and consider buying it.
Download the appropriate player for your operating system and follow these OS-specific instructions:
macOS
- Download and install VMware Player
- Download the image from supplied link
- Unzip the image
- Open VMware application
- Click “File”, then “New”
- Select “Import an existing virtual machine”
- Click “Choose File…” and navigate to your unzipped image
- Click “Save” when prompted for virtual machine name
- If an error appears, click “Retry”
- From here you should be launched into your new shiny virtual machine!
Linux
- Download and install VMware Player
- Download the image from supplied link
- Unzip the image
- Open VMware Player
- Select “File” -> “Open a Virtual Machine“
- Navigate to the directory of the unzipped image and select the image
- If the player fails to open the image perform steps 5 and 6 one more time
- Select the imported image on the left side of the player
- Click “Run”
- From here you should be launched into your new shiny virtual machine!
Windows
- Download and install VMware Player
- Download the image from supplied link
- Unzip the image
- Open VMware
- Press "Open a Virtual Machine"
- Navigate to the folder that contains the VM files
- Select the larger .ova file
- Wait file to be imported (may take some time)
- If an error appears click “Retry”
- From here you should be launched into your new shiny virtual machine!
Allocating Resources
Before getting your VM up and running, you will need to make sure that you allocate enough resources for it to operate efficiently. With your VM shutdown, navigate to the VM settings under the menu for your VM. Look for a section labeled "Processors and Memory"; this is where you will change the number of cores and amount of RAM that you allocate from your own machine to the VM. If you have the resources on your machine, we recommend allocating at least 2 processor cores and 4 GB of RAM. If you are able to allocate more resources, feel free to do so. The more you allocate the better performance you will get! You're now all set to boot up your VM!
First Boot
Upon your first boot you will be prompted to choose a keyboard layout of your choice. Once you select a keyboard you will not be prompted for this again. If you would like to change your option you can reset this feature by entering
udacity_reset
in a terminal of your choice and restarting the VM.
Once you are up and running, you might be asked to input a password to enter the VM.
The password for the VM is
robo-nd
To open a terminal in your VM press
ctrl-Alt-t
(or
ctrl-option-t
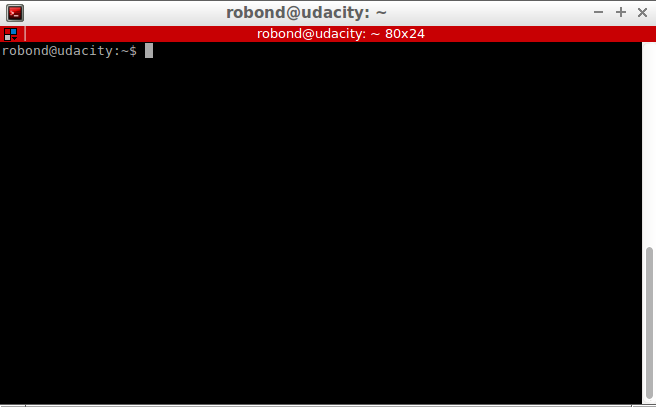
on a Mac). You should get a terminal window that looks like this:
You're now ready to follow along in your VM with the lessons in this program!
Task Description:
Check the box when you have your virtual machine up and running!
Task Feedback:
Great! You have the Udacity VM running and ready to go!
Common Questions
Question: What are are the minimum specs to run the VM on Windows 10?
Answer:
It depends on your host machine configuration. As a general rule, good performance requires 2 GB of RAM, 20 GB disk space, 4 logical cores.
Tip: Monitor the memory use and if you frequently see high(> 90%) swap values, then increase the VM memory.
Question: Why can't we use VirtualBox to run the VM?
Answer: The 3D graphics capabilities of VirtualBox are inferior to VMware, which is important since we will be using graphically intensive applications. Many people have reported slow performance even with VMware, and worse yet with VirtualBox, so best to avoid VirtualBox for now.
Besides, VMware has free versions available for Windows and Linux, and free-trial version available for macOS.